Git.02 Use SmartGit as git client
1. Install SmartGit
-
download SmartGit from https://www.syntevo.com/smartgit/, chose the version match your operating system

-
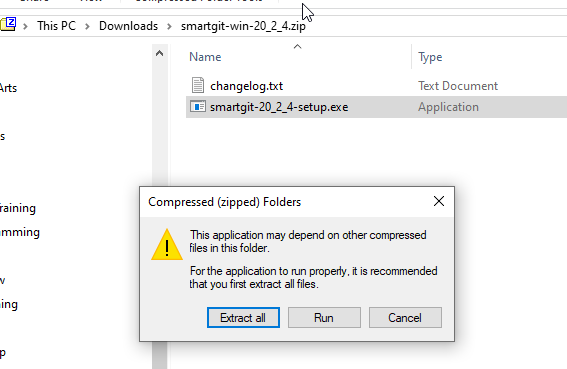
for windows, it will download a zip file, please open it and run the setup.exe file with Extract All.
-
Chose
No-commercial licenseduring you install the SmartGit- Install SmartGit step by step
2. Create a repository in your github account
-
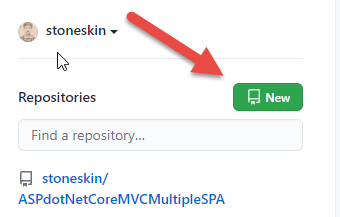
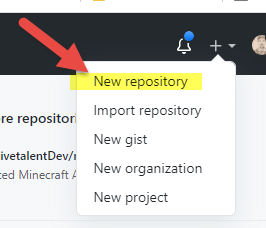
In your github home page, click the create new icon or click Start a project button
-
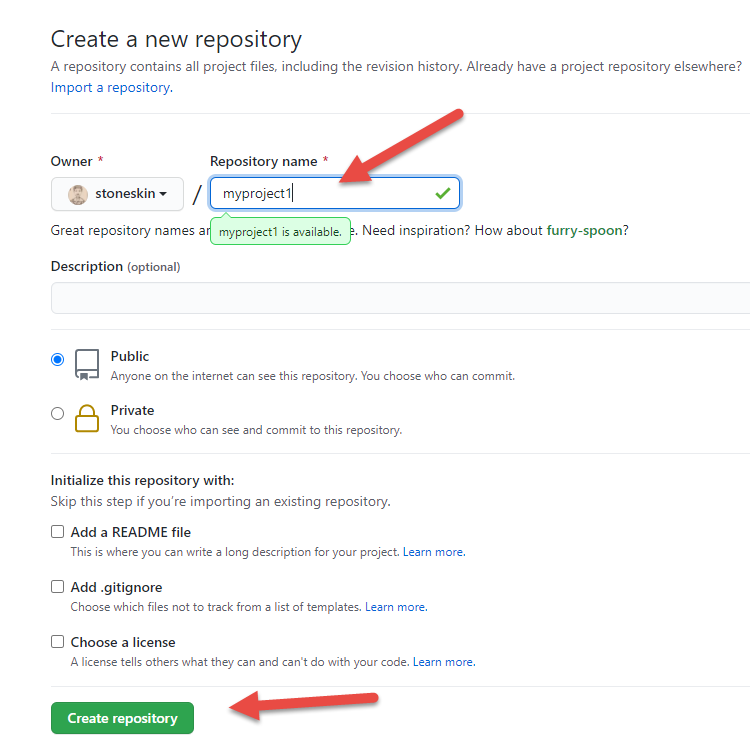
Input your name of project, and create your first repository
-
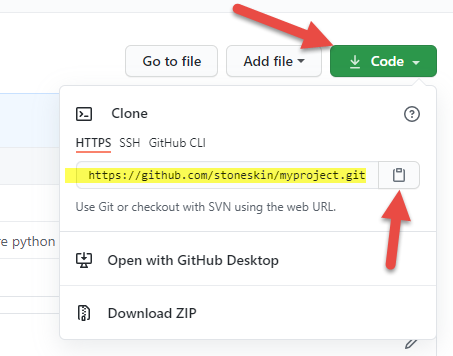
go to you repository page, ex https://github.com/{youracctname}/myproject, get the Clone url
3. SmartGit Clone your new project repository
-
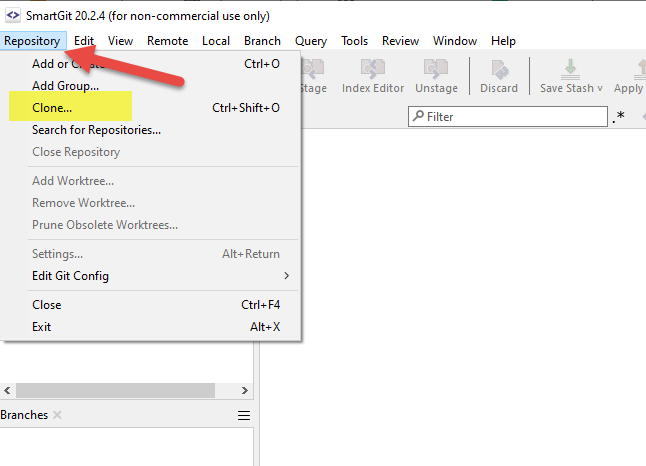
In SmartGit, Repository -> Clone
-
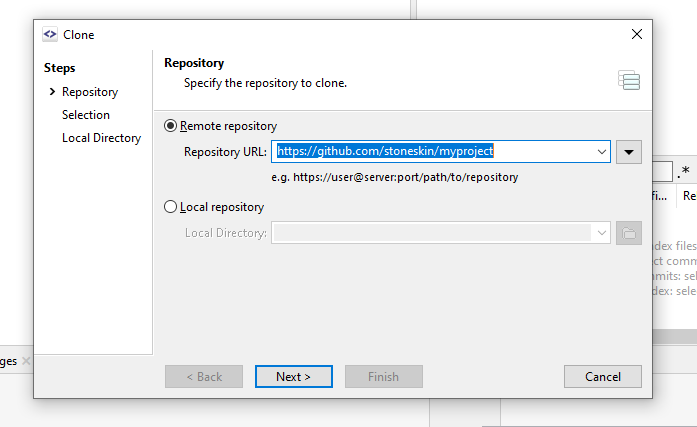
If you copy the url, the url will auto loaded to the Remote repository
-
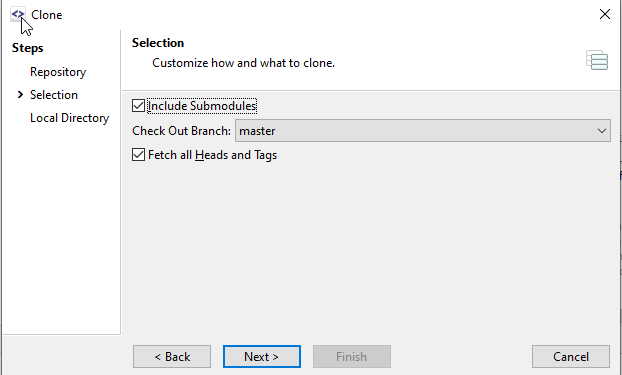
click next
-
chose your project position
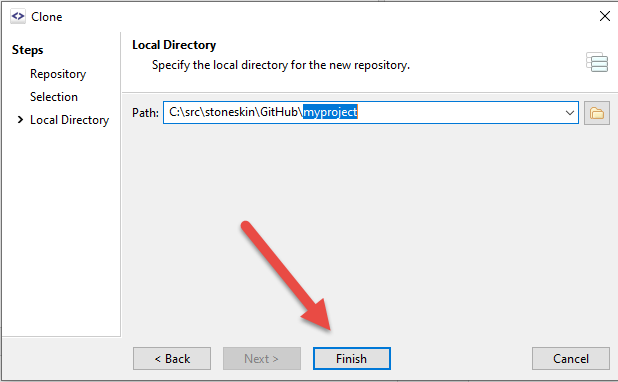
4. Add your code to the Working folder
-
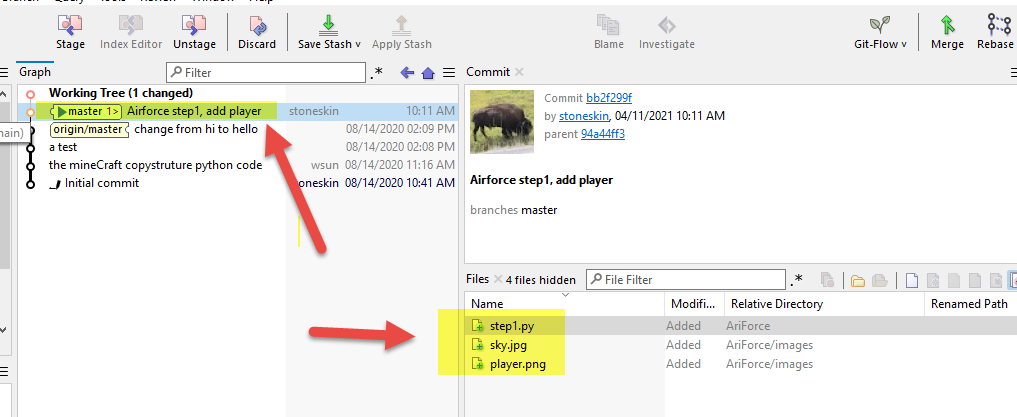
Add some code to your working folder, it will show on the
working Tree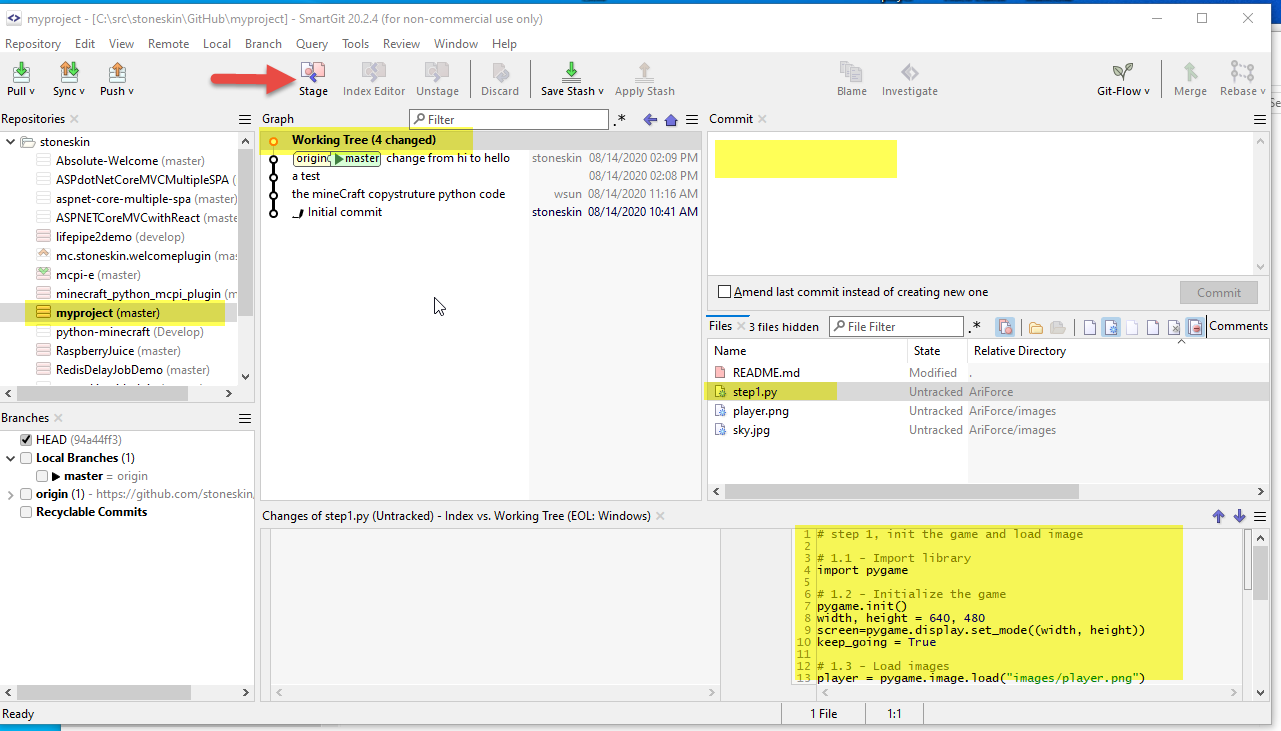
-
You could select the file you want to stage, and click stage button
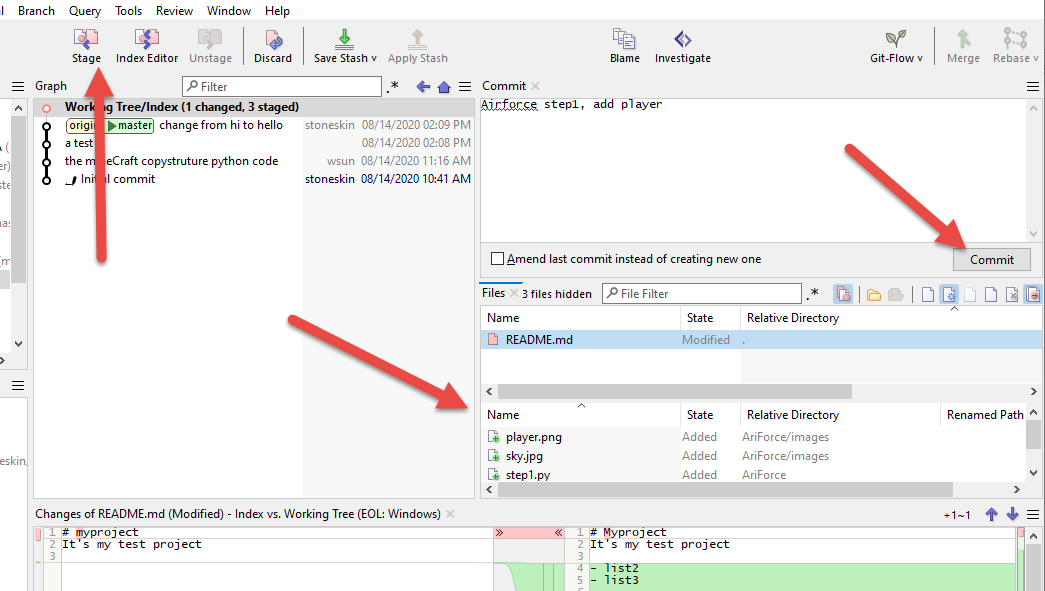
-
You also could skip the Stage step, can commit what you selected for commint
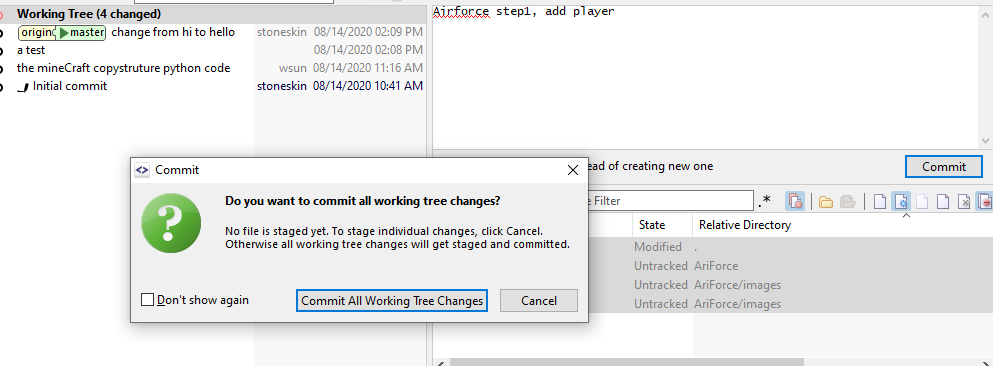
-
After commit, the committed files change will not on the Working Tree
5. Push you change to the remote
-
There are Pull, Sync, Push button on the top of the manual bar

- Pull is get change from remote to local
- Sync is to make local and remote same, both have latest change
- Push is just send you local change to remote server
- First time you push the code to remote github, you will be asking username and password
- for security reason, you should not use your password here, you could create a personal access token and use it as password create a personal access token
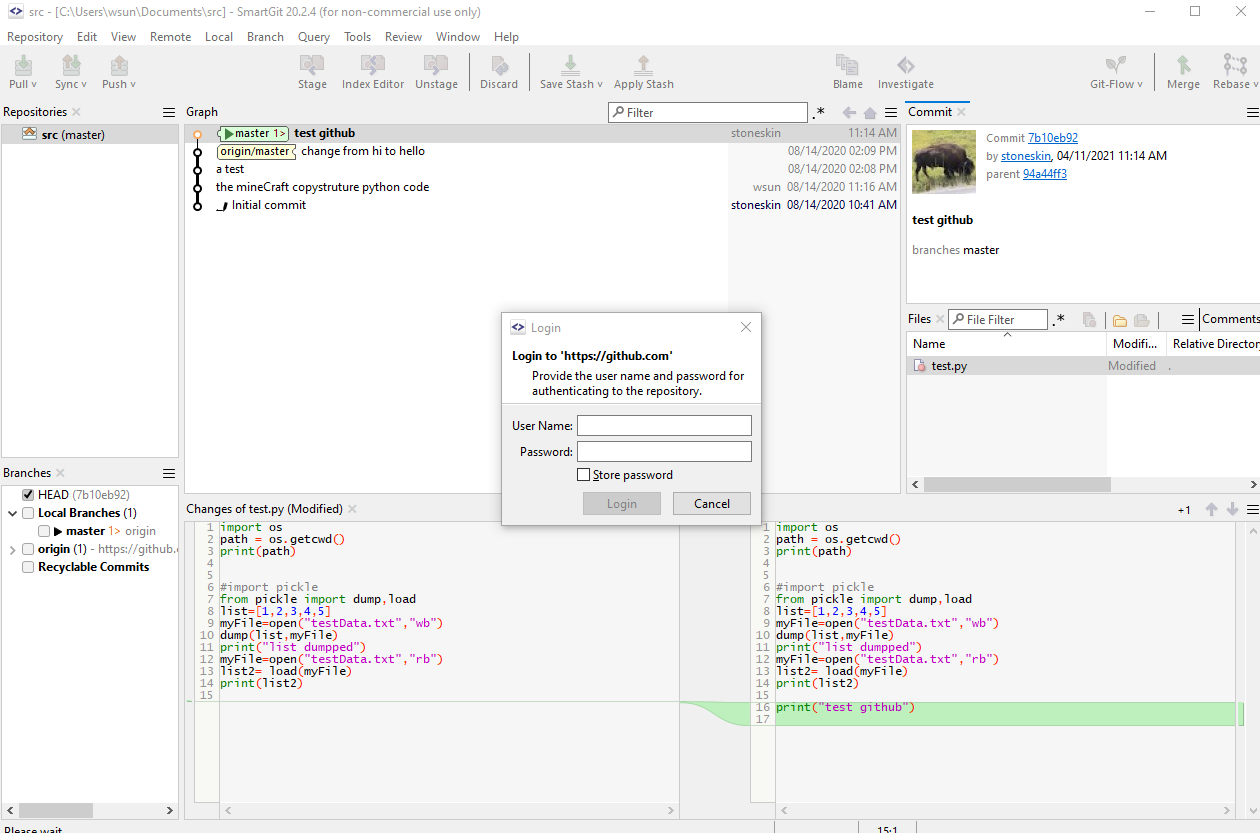
- for security reason, you should not use your password here, you could create a personal access token and use it as password create a personal access token
-
If you need remove saved credential, got to menu ->Edit ->Preference,remove the github item
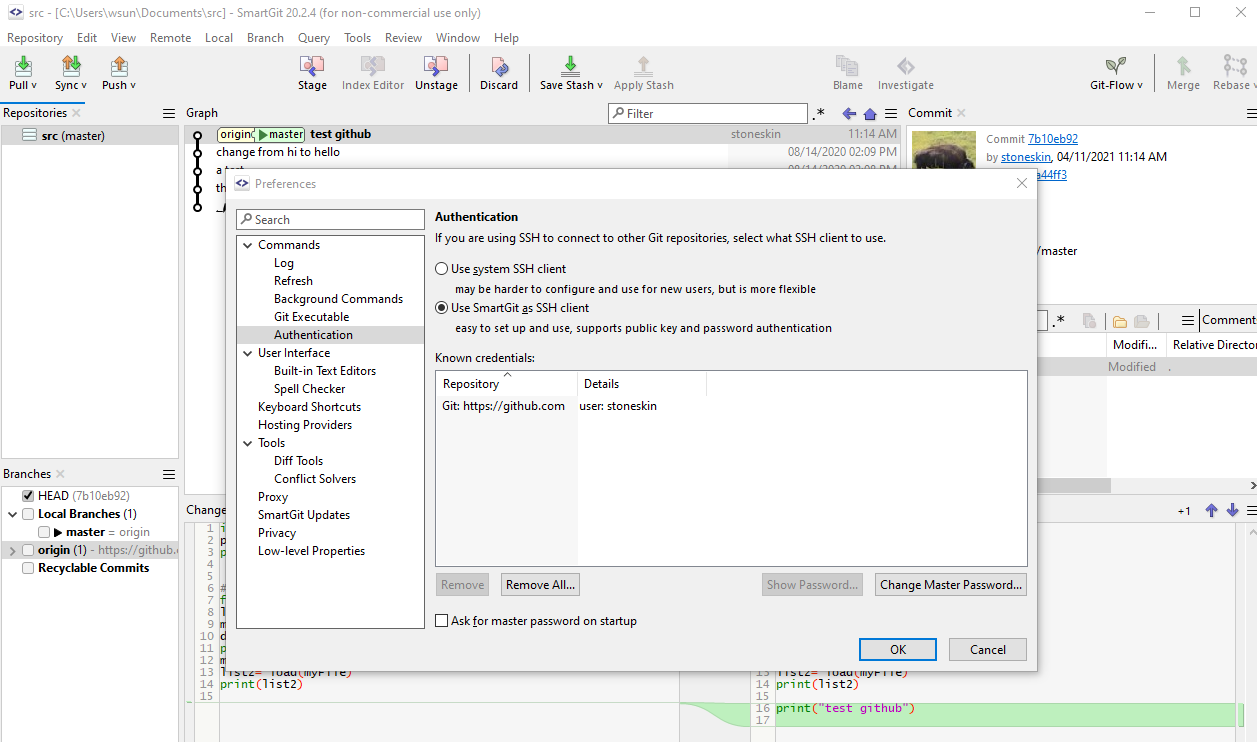
- After click Sync or Push, your local committed code will show on the github